Atlanta’s Premier Cabinet Store — Since 2009
Best Kitchen &
Bathroom Cabinet
Store in Atlanta
Fast. Affordable. Stylish. Serving Norcross, Alpharetta & the entire Greater Atlanta area with premium cabinets — up to 60% off retail.


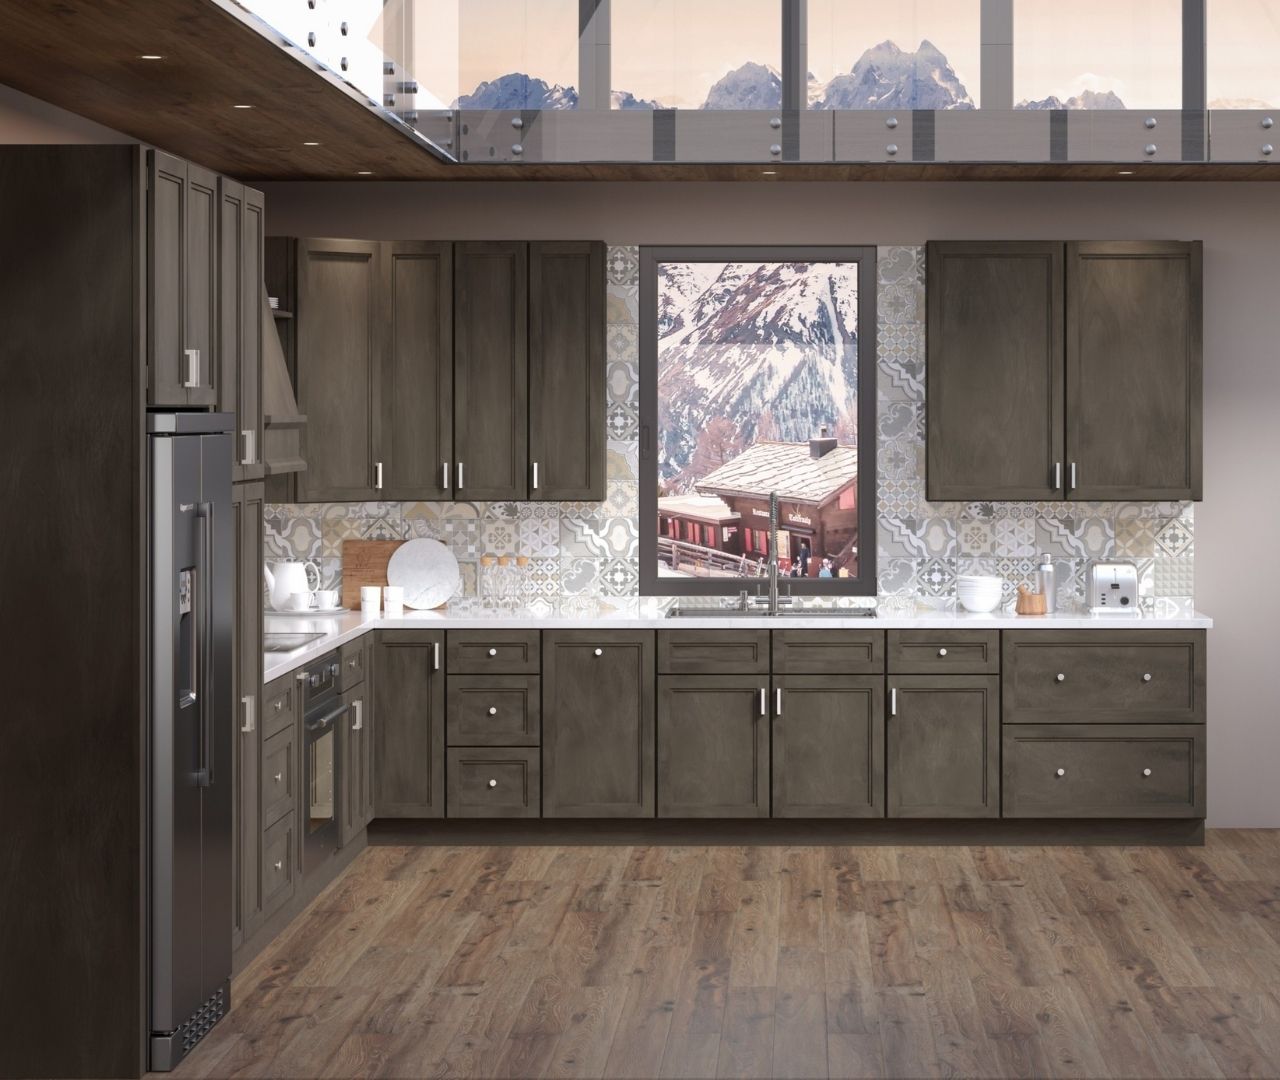
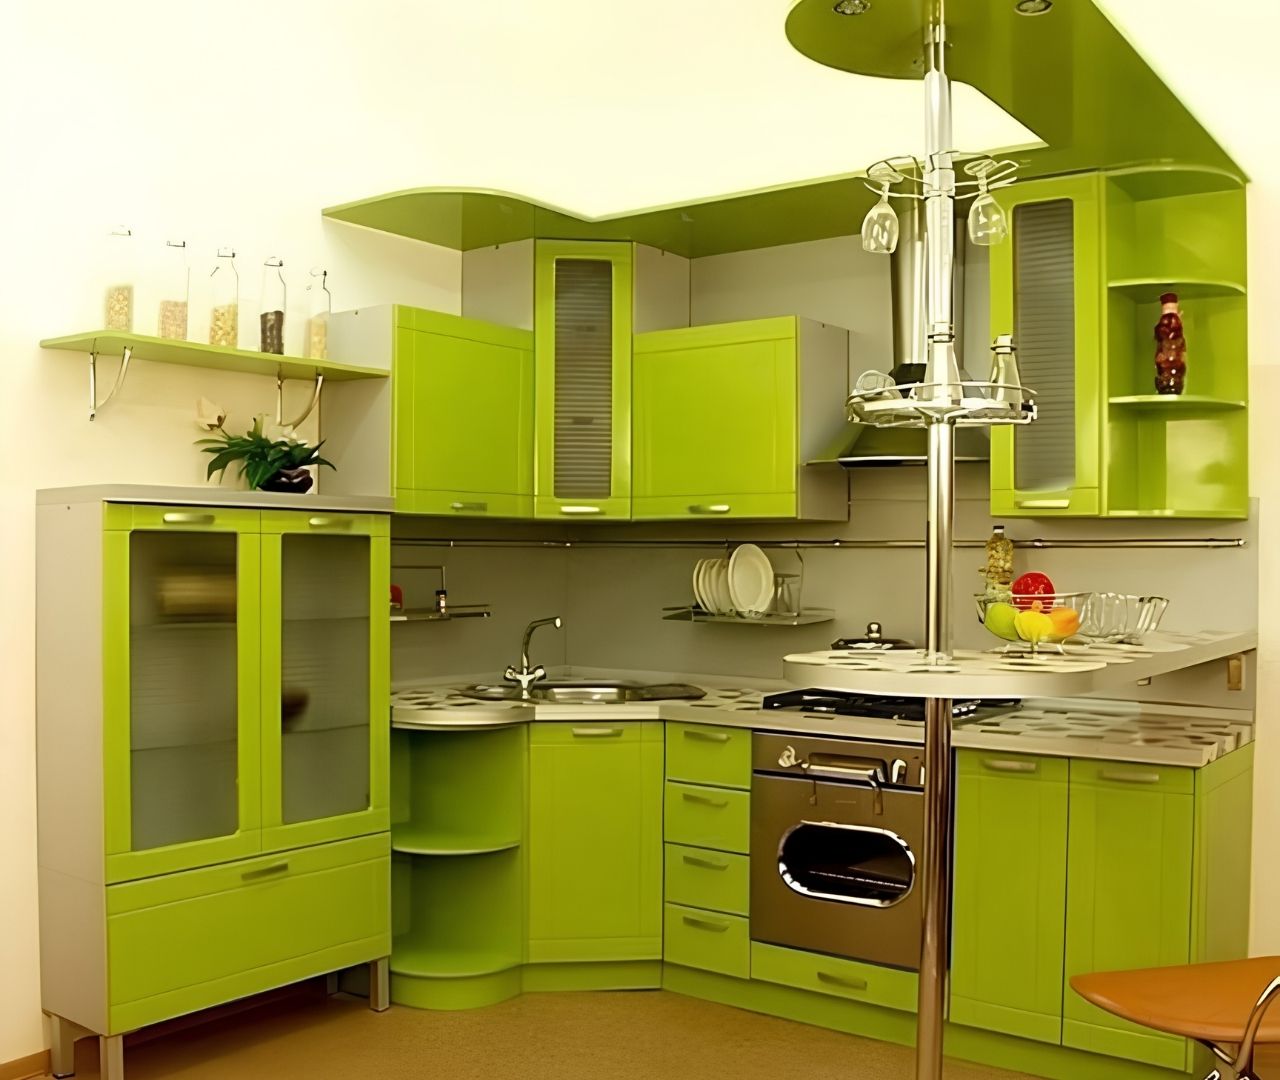
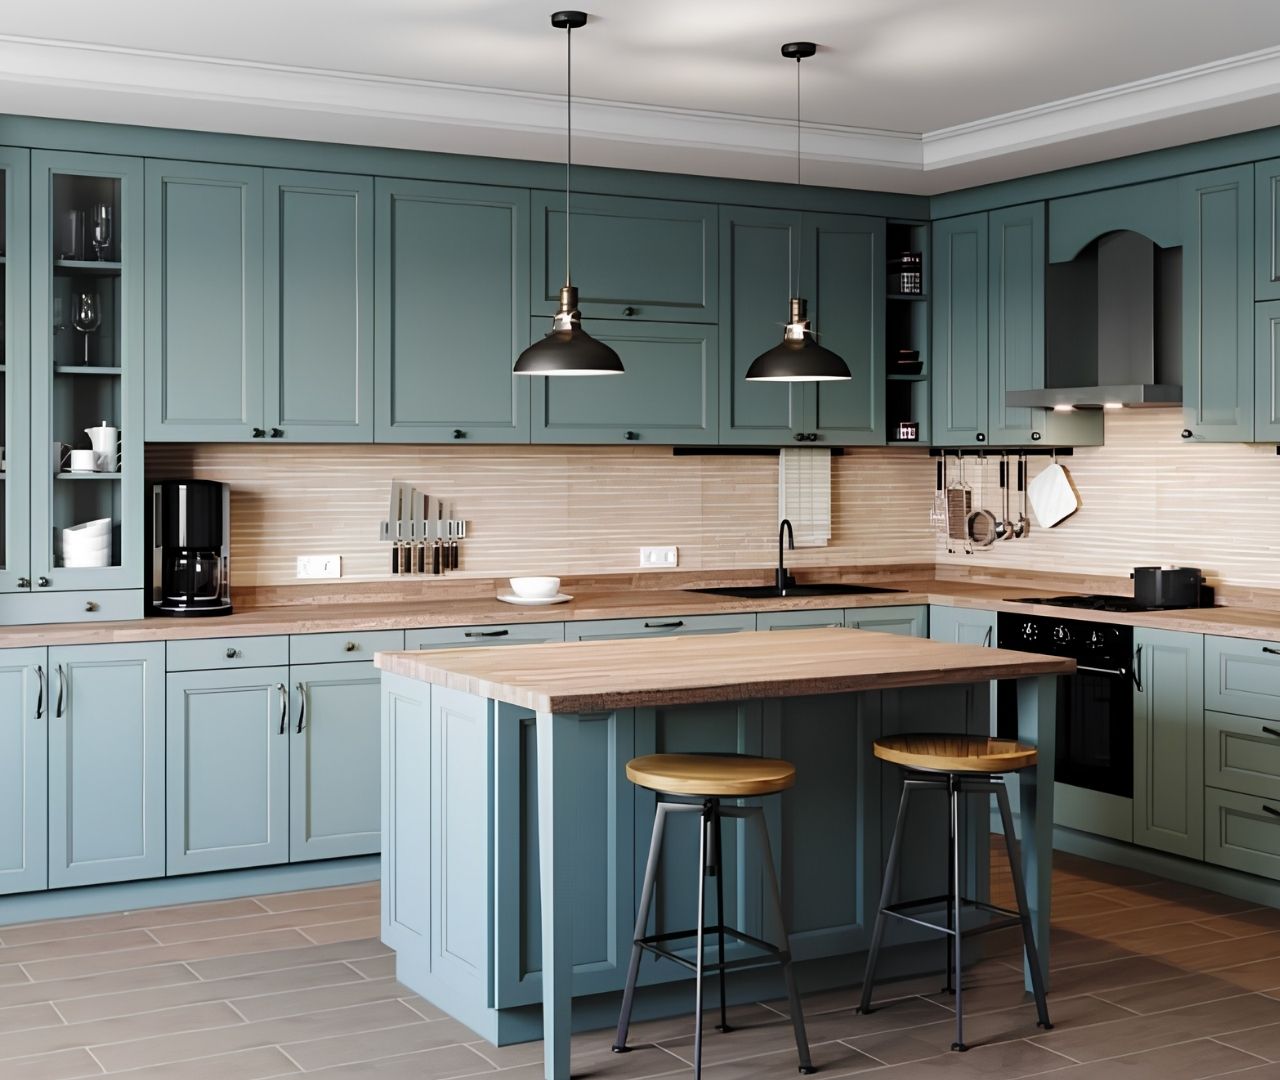
Kitchen
Cabinet Store
Atlanta’s most extensive kitchen cabinet showroom. From classic shaker to modern frameless — every style, every finish, priced up to 60% below retail.
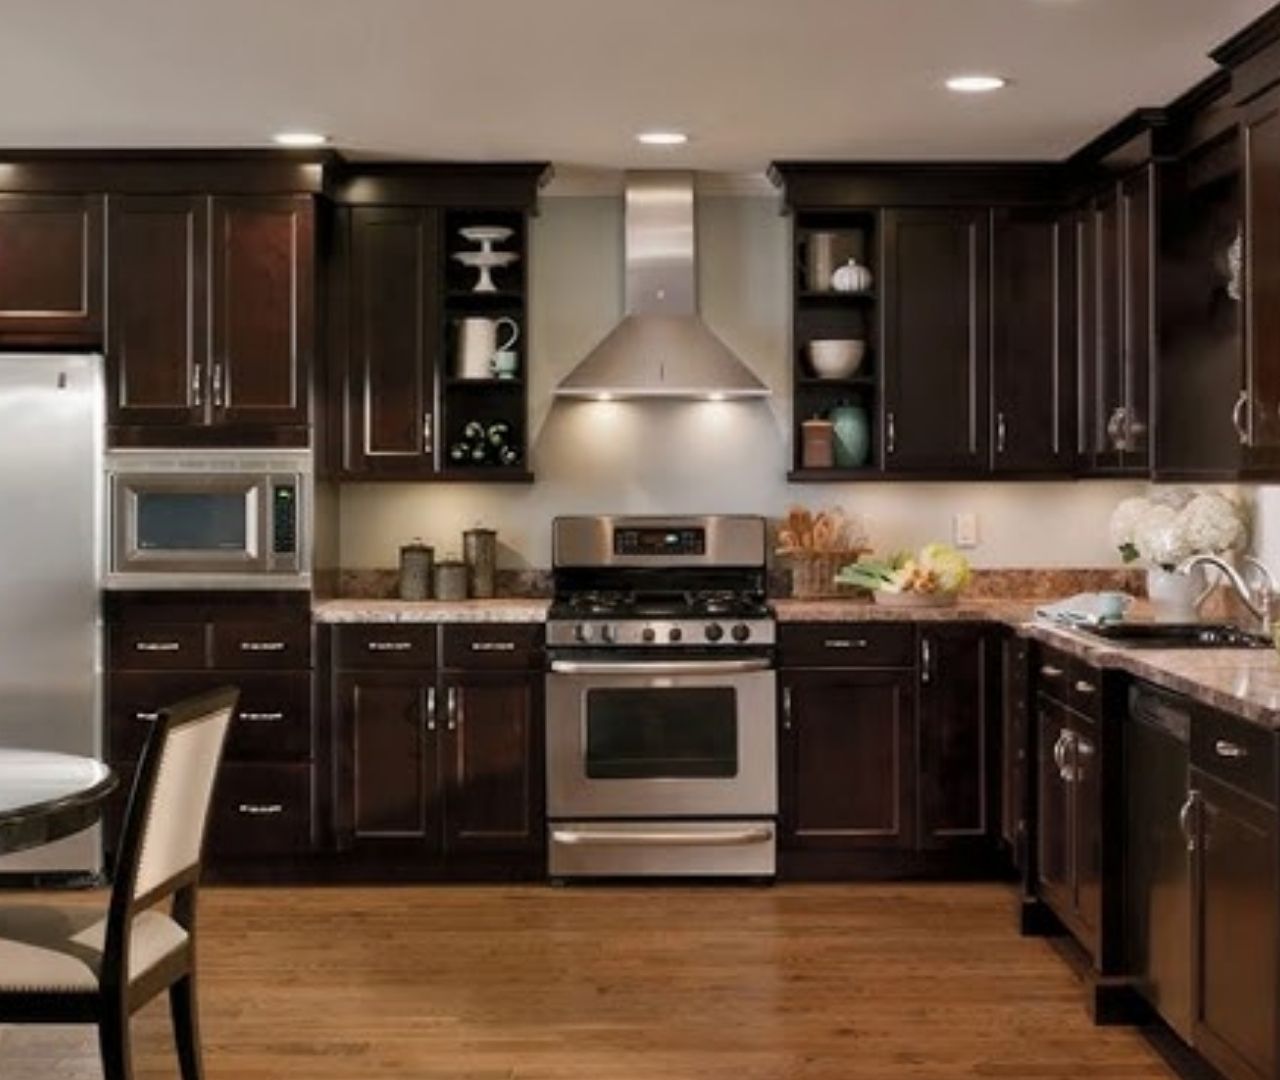
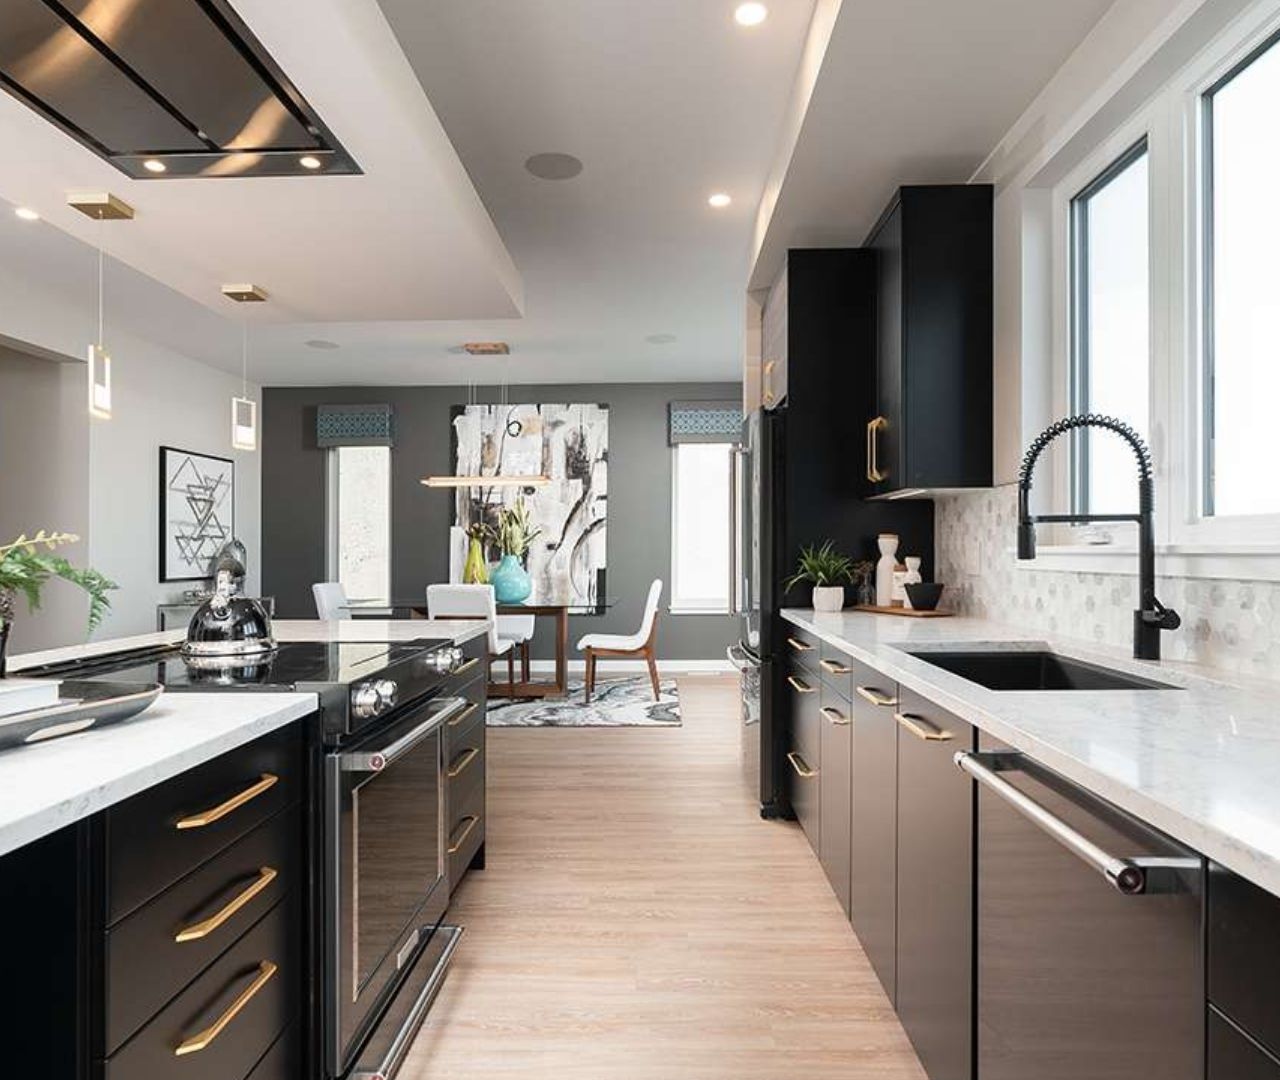
Kitchen
Remodeling
Complete kitchen transformations — from concept to installation. Our design team handles every detail so your dream kitchen becomes reality on time and within budget.
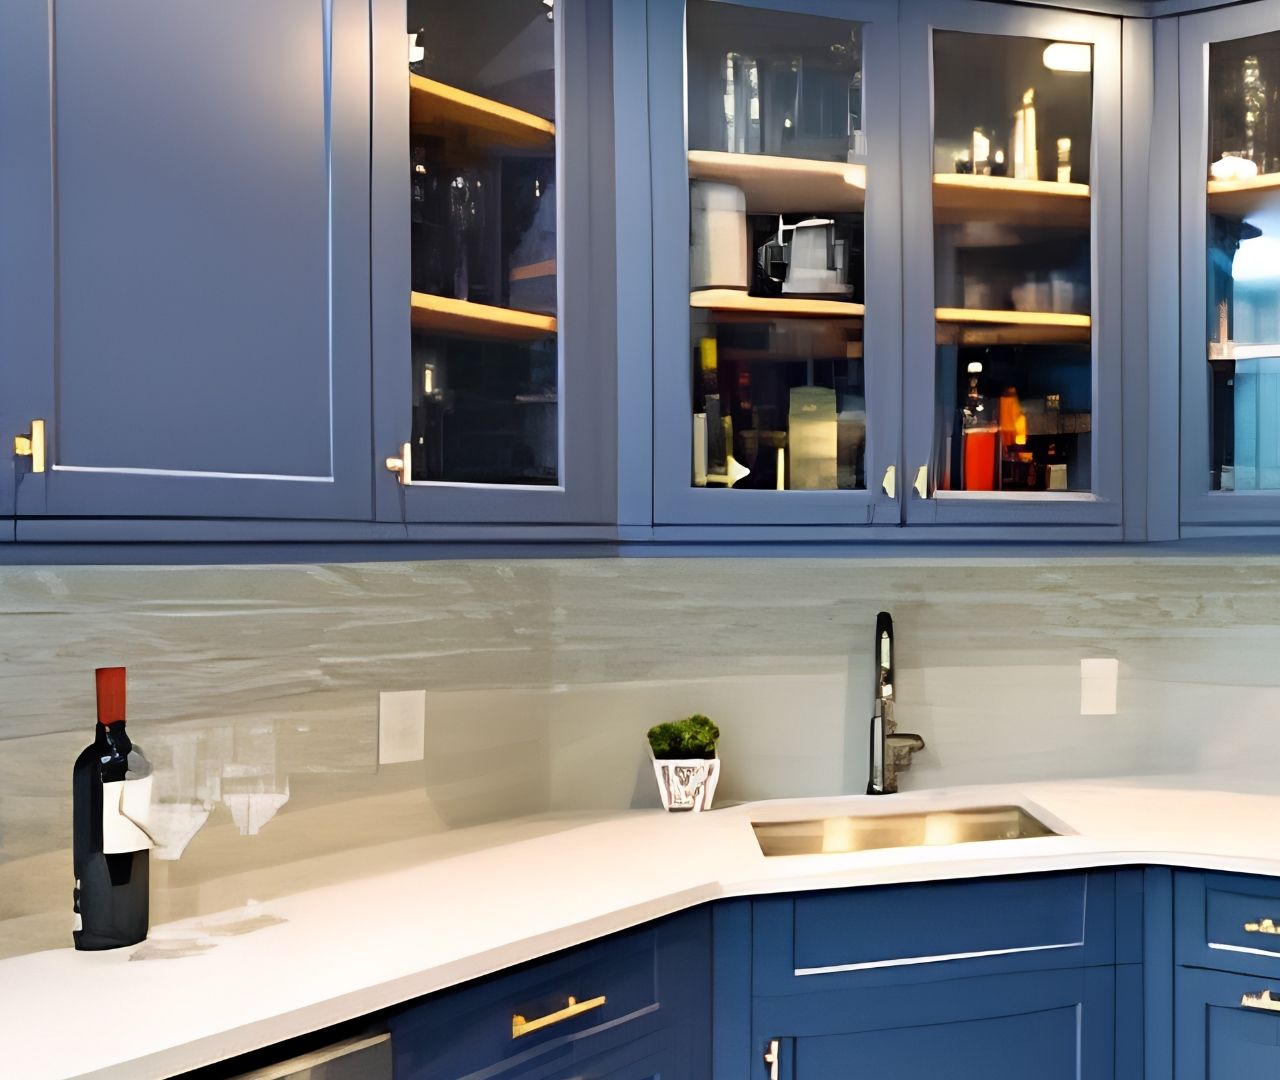

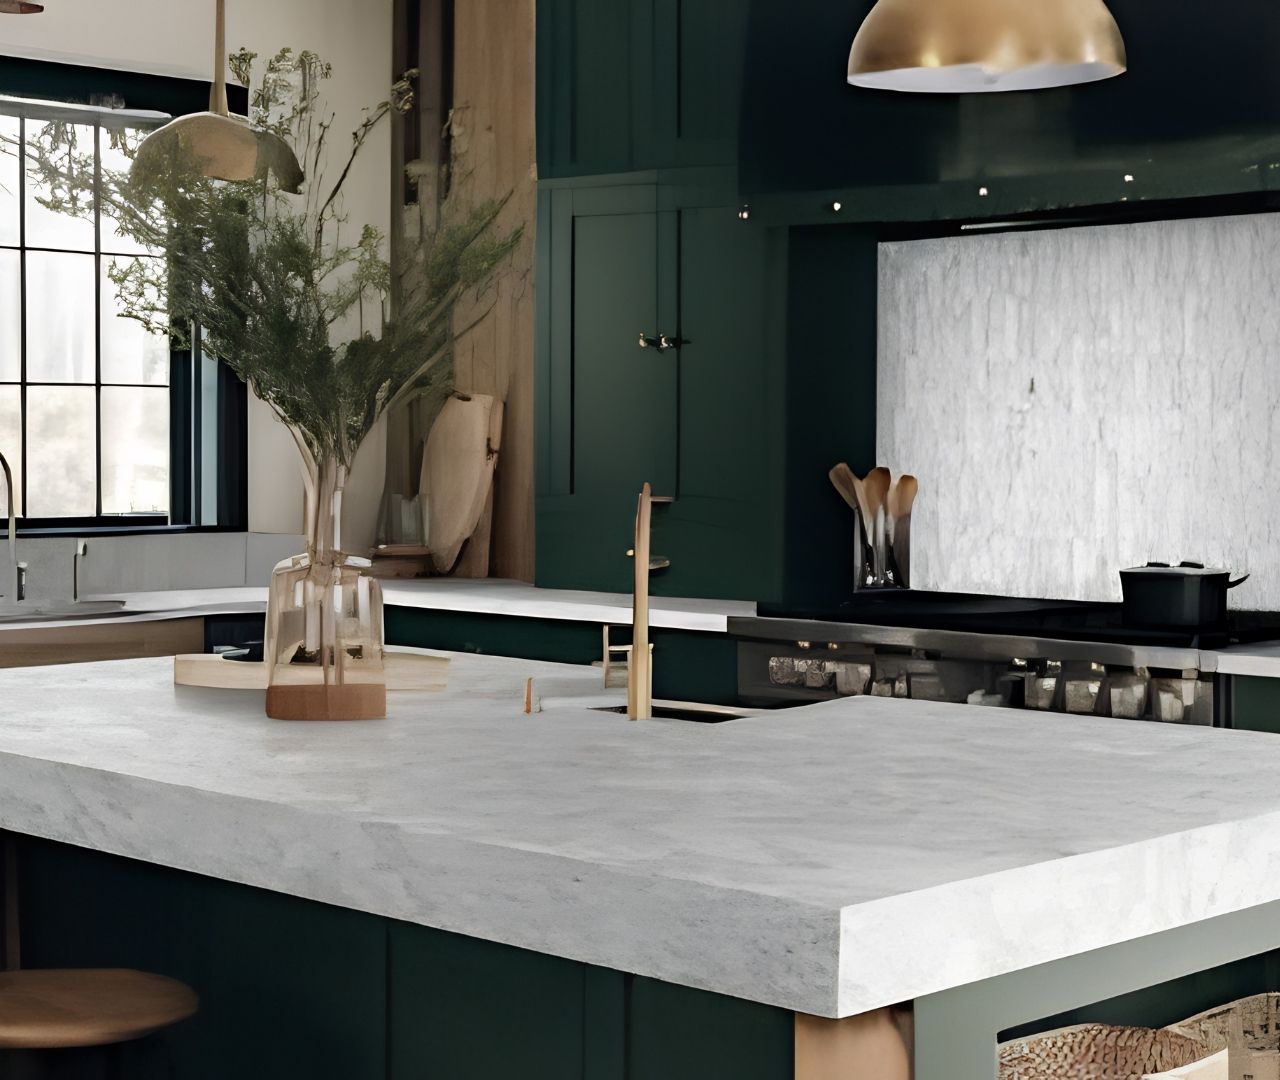
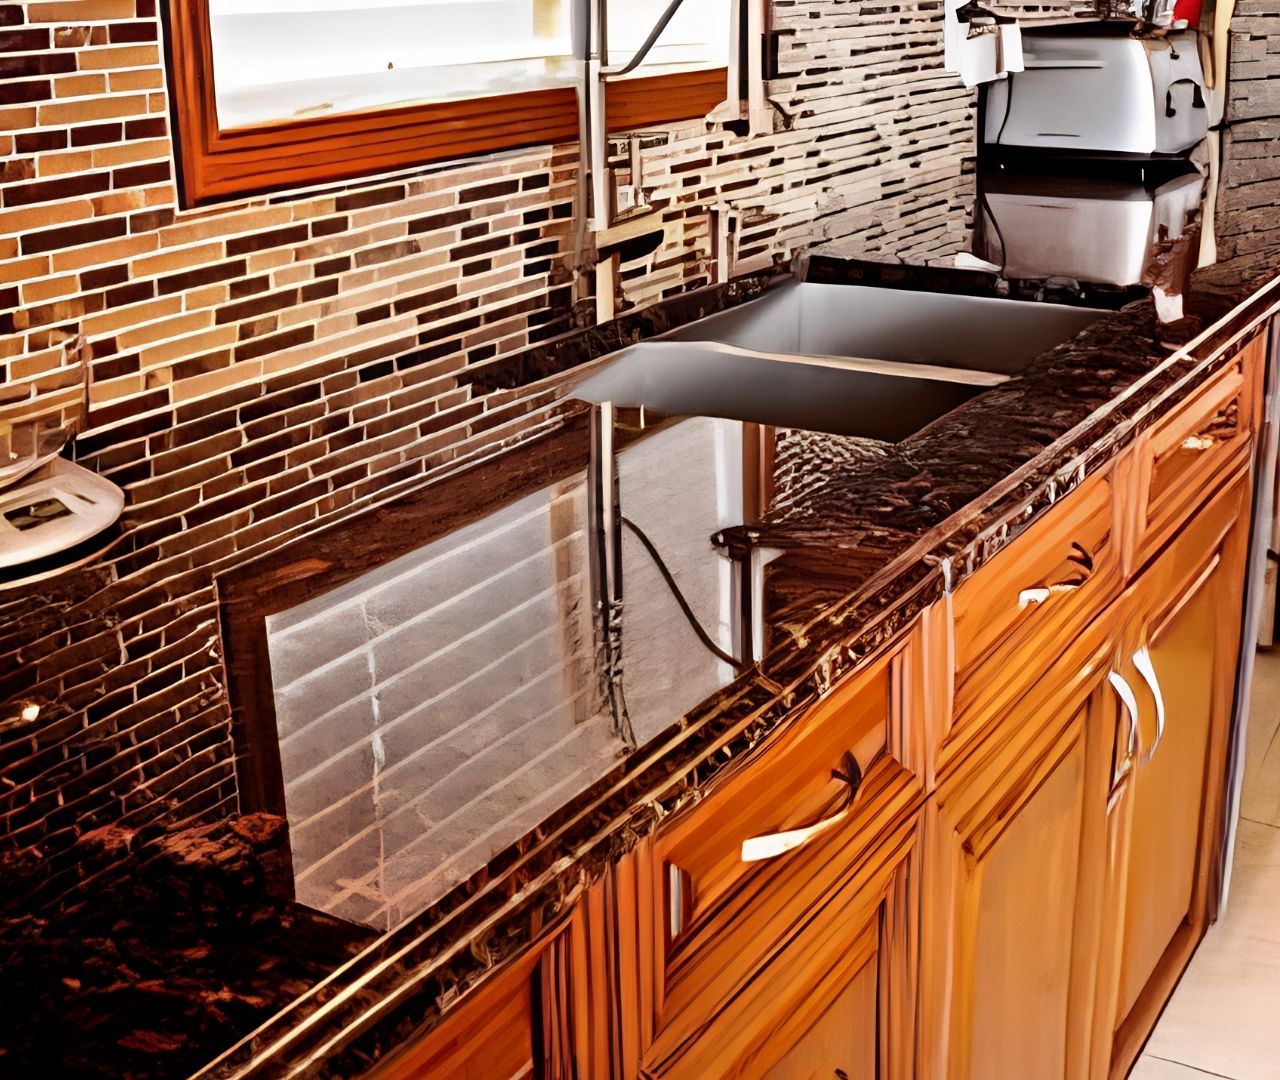
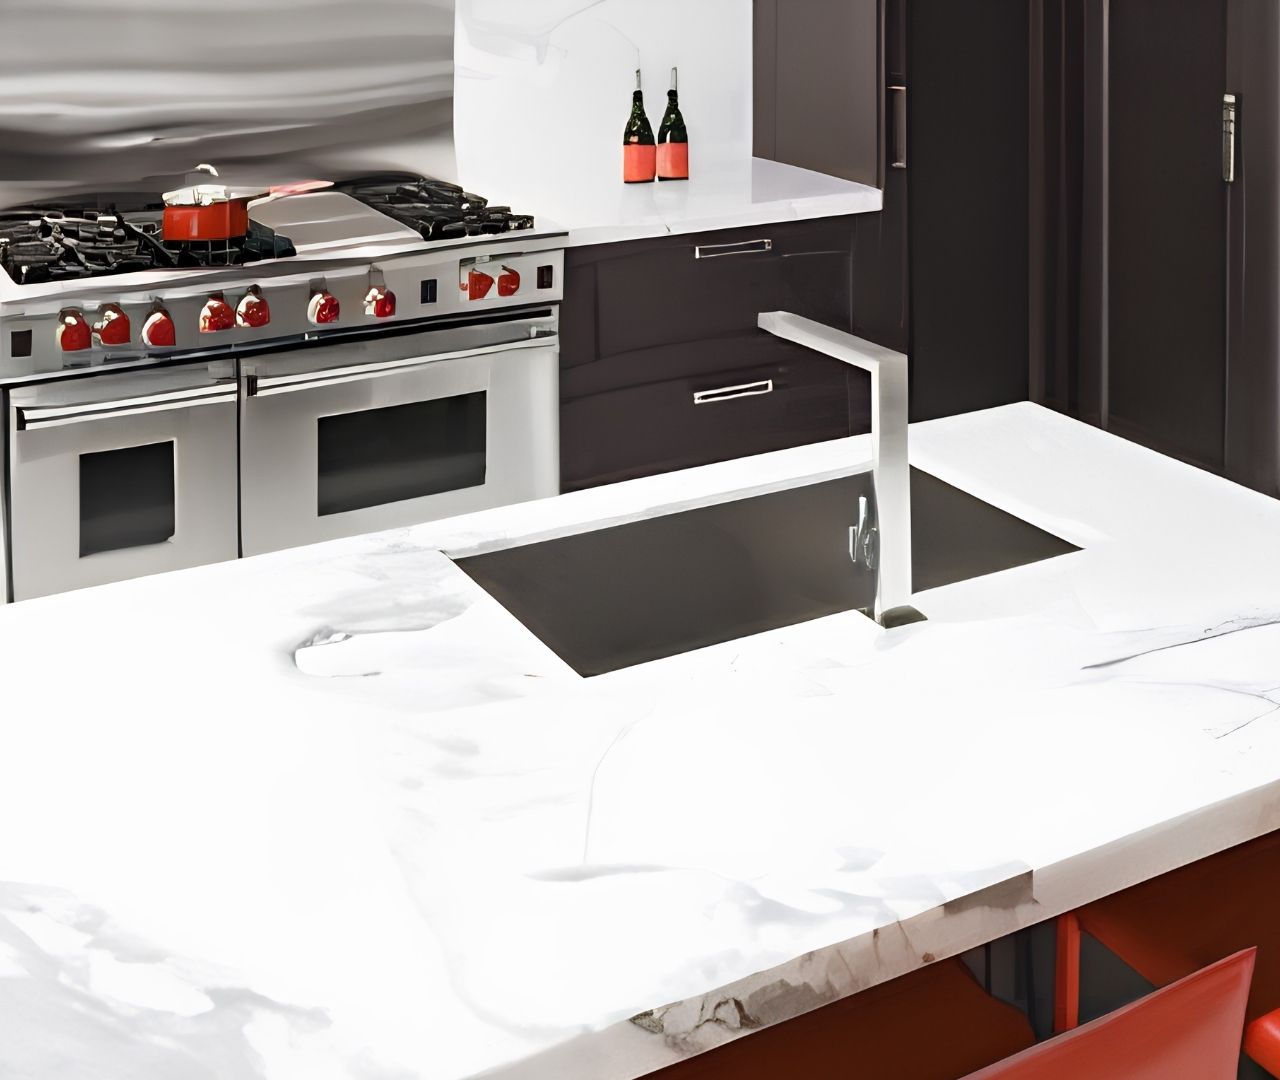
Countertop
Service
Stunning stone surfaces hand-selected from the world’s finest quarries. Quartz, Granite, Marble, and Quartzite — measured, cut, and installed to perfection in Atlanta.
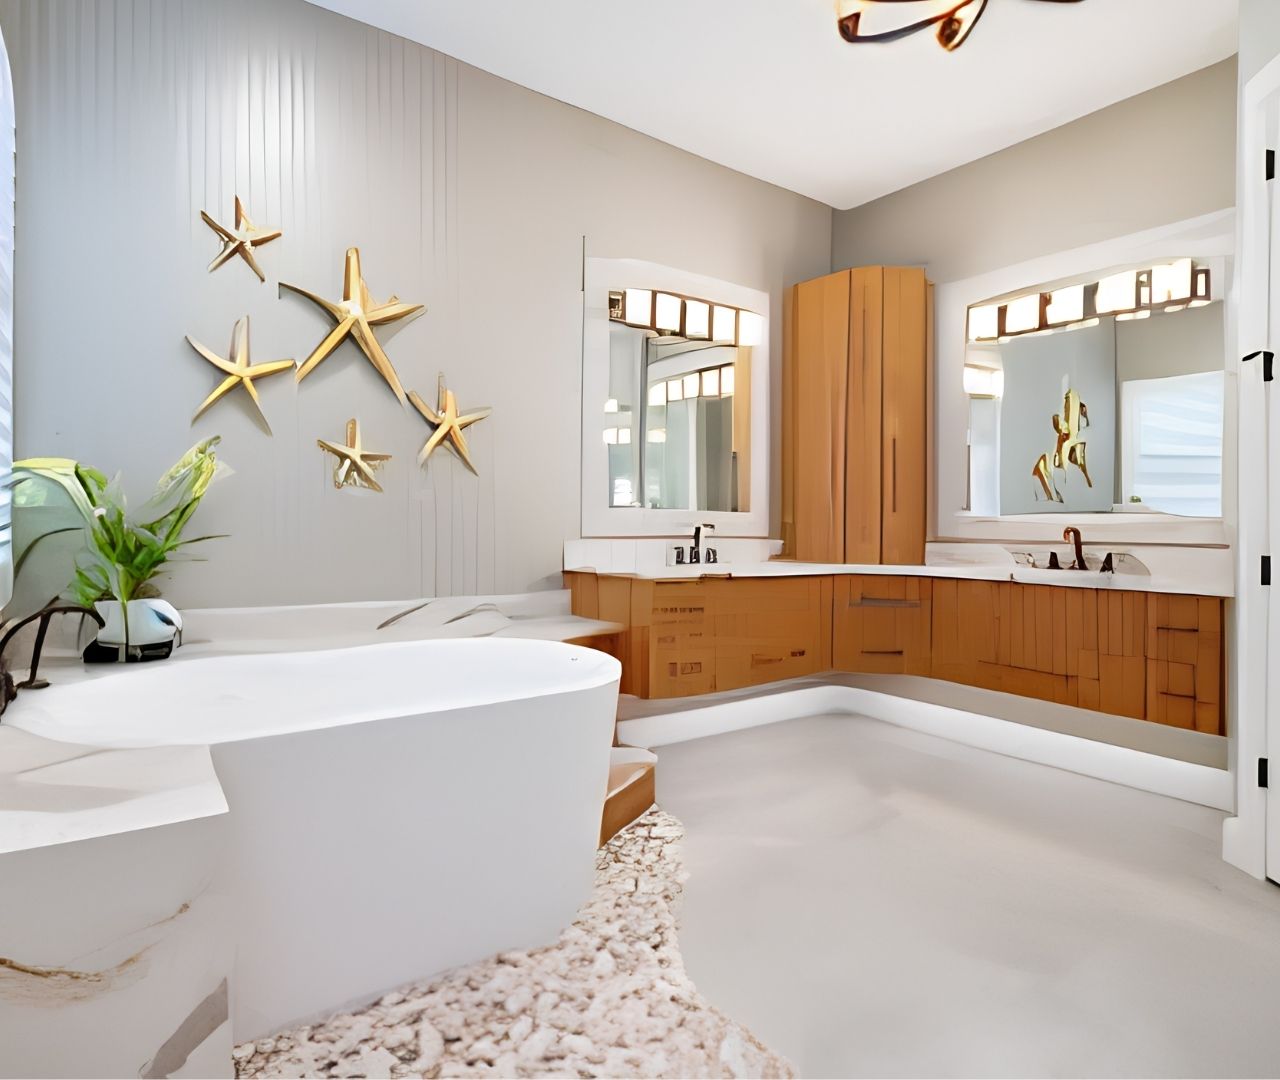
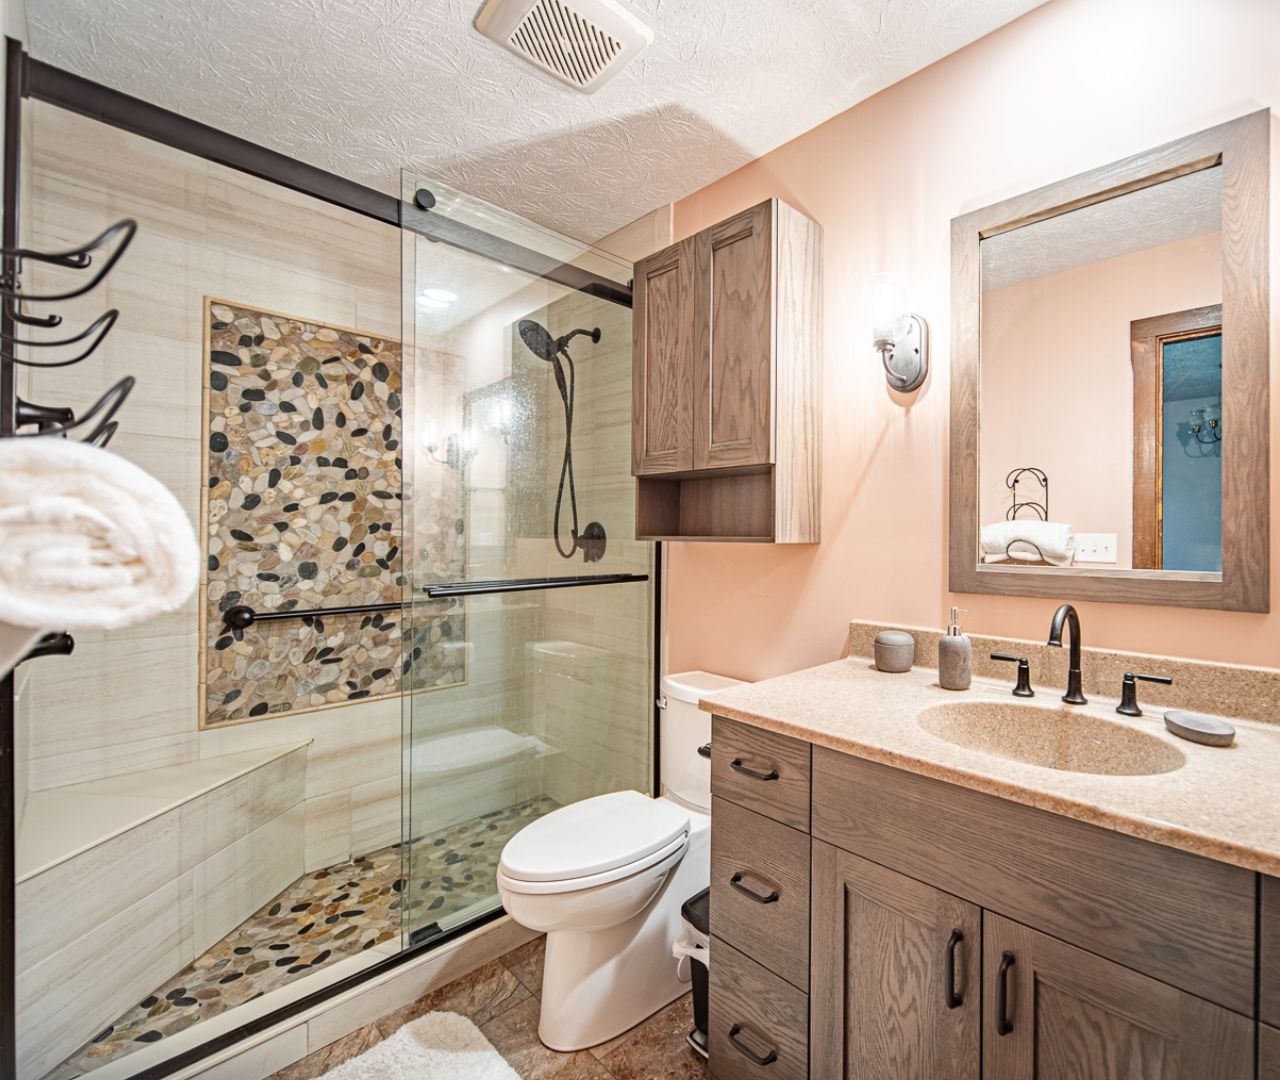
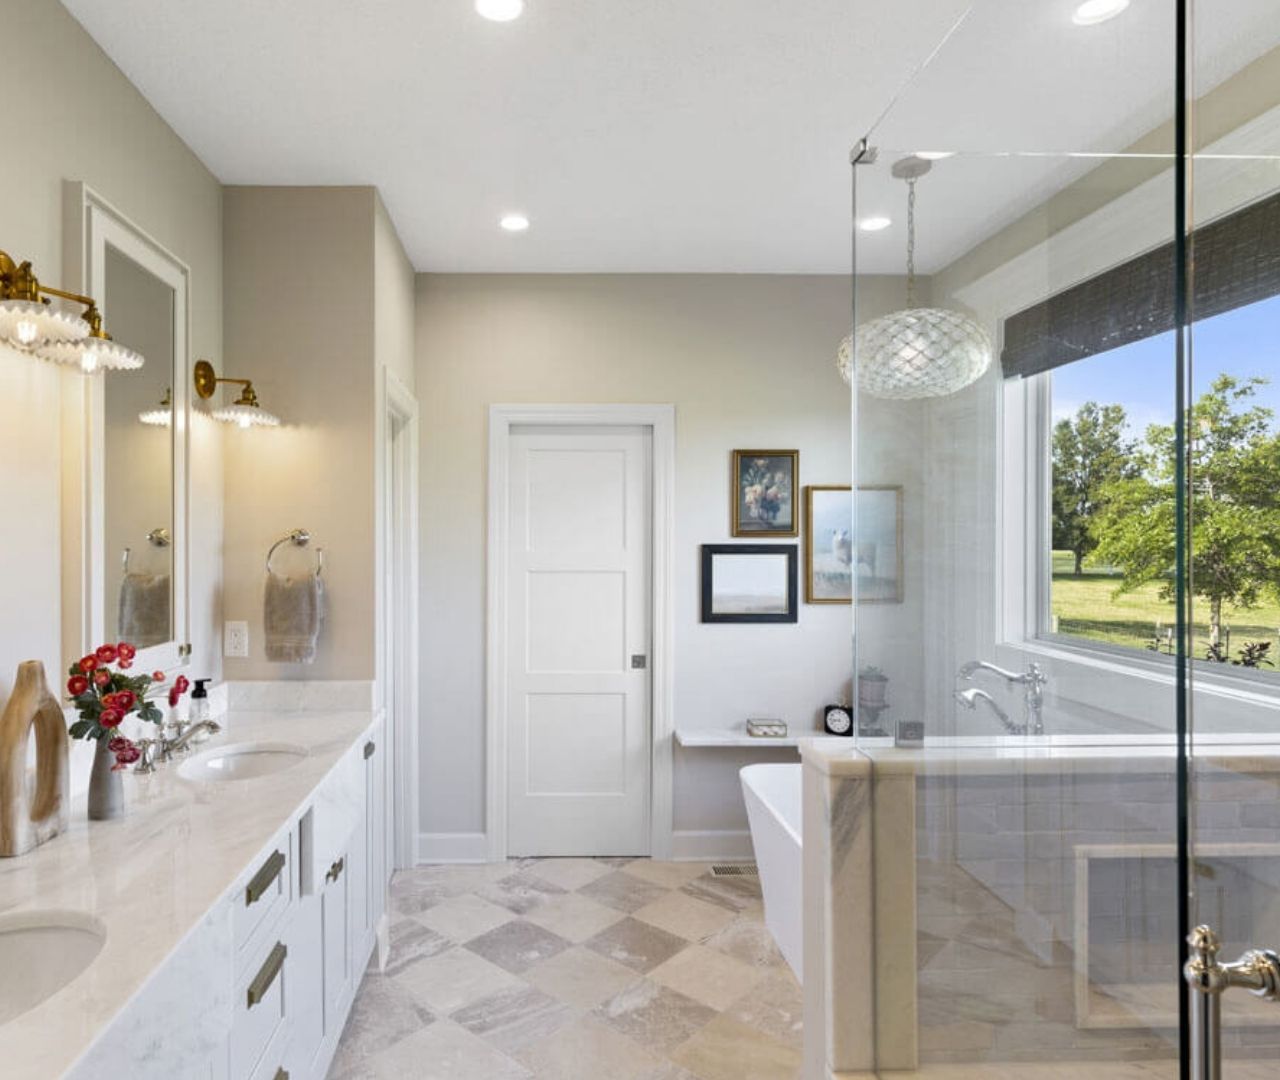
Bathroom
Remodeling
Transform your bathroom into a private spa. From single vanity upgrades to complete master bath renovations — we make luxury accessible for Atlanta homeowners.
Atlanta’s Most
Trusted Cabinet Store
For over 15 years we’ve been transforming Atlanta kitchens and bathrooms with premium cabinets, expert craftsmanship, and prices that are impossible to match.
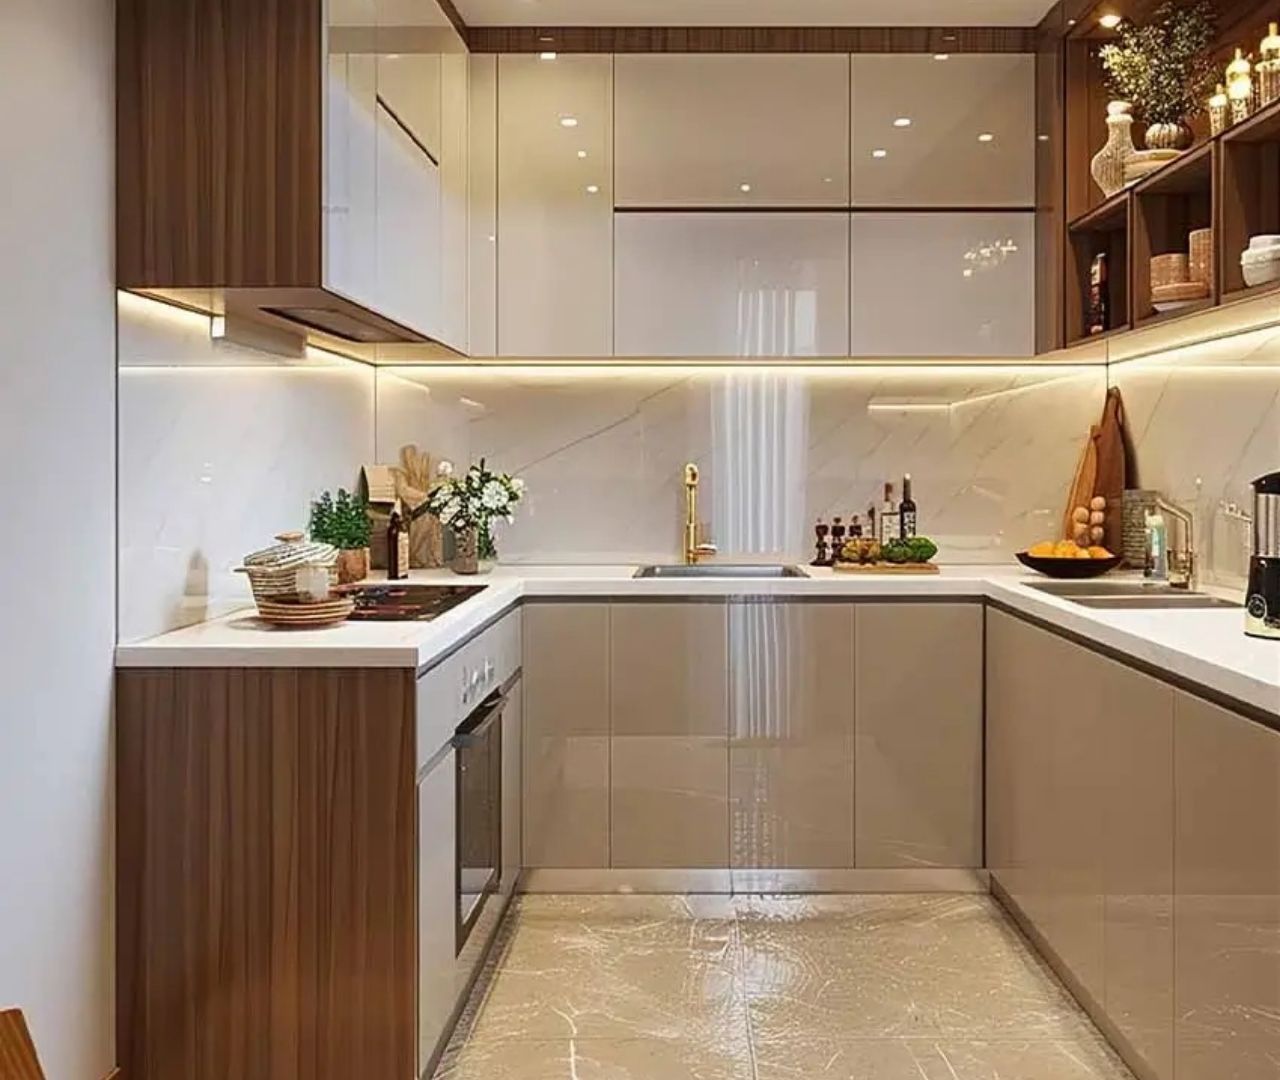
Real Atlanta Transformations
Browse real projects completed for Atlanta homeowners. Every photo is a real customer’s home.


Four Steps to Your
Dream Space
Simple. Transparent. Fast. From your first call to the final install — we handle it all.
Free Consultation
Call us or walk into any showroom. Zero pressure, zero obligation. Our team listens first and advises second.
Free 3D Design
We create a photorealistic 3D rendering of your kitchen or bathroom — every cabinet, countertop, and finish shown in detail.
Select & Order
Choose your cabinets, countertops, and finishes. With same-day pickup and quick-ship options, your order is ready fast.
Expert Install
Our licensed crew delivers and installs with precision, ensuring a flawless result. Most projects completed in 3–5 days.
What Atlanta Says About Us
Homes Cabinet was absolutely amazing to work with! We remodeled our entire kitchen and the result is stunning. The quality of the cabinets is outstanding and the installation team was professional and efficient. Highly recommend!
Best cabinet store in Atlanta! The selection is huge and the prices are much better than big box stores. The free 3D design service helped us visualize our new kitchen before we committed. Very happy with our purchase.
I was nervous about a kitchen remodel but the team at Homes Cabinet made it stress-free. They handled everything from design to installation. Our kitchen looks like something out of a magazine. Worth every penny!
The showroom in Norcross is incredible. So many options to choose from. The staff was knowledgeable and patient helping us pick the right cabinets for our budget. The soft-close hinges and dovetail drawers are excellent quality.
We got our bathroom vanity cabinets and kitchen cabinets both from Homes Cabinet. The consistency in quality and color was perfect. The installation team was tidy and finished ahead of schedule. 5 stars all the way!
Excellent experience from start to finish. The 3D design rendering was spot-on — what we saw in the computer is exactly what we got. The quartz countertops they installed are flawless. Already recommended them to 3 neighbors.
Homes Cabinet transformed our dated kitchen into something beautiful. The shaker cabinets in Dove White are exactly what we wanted. The whole project took just 4 days and the team was respectful of our home. Couldn't be happier.
I'm a contractor and I send all my clients to Homes Cabinet. The product quality is consistently high, the pricing is fair, and the staff is professional. Same-day pickup availability is a huge bonus for my projects.
Frequently Asked Questions
Everything you need to know before visiting our showroom or placing an order.
Ask a QuestionYes — 100% free, no obligation. Our in-house designers will create a photorealistic 3D rendering of your kitchen based on your measurements, style preferences, and cabinet choices. You'll see every detail before you commit to anything.
Absolutely. We carry hundreds of in-stock cabinet lines at both our Norcross and Alpharetta showrooms. Many customers order and take their cabinets home the same visit. For custom colors or sizes, lead times vary — we'll give you an exact timeline at consultation.
Yes. We work directly with cabinet manufacturers, which eliminates dealer and distributor markups. We consistently price 40–60% below typical retail. Bring competitor quotes — we love to compare. Most customers who do end up saving thousands.
We serve the entire Greater Atlanta metro including Norcross, Alpharetta, Marietta, Sandy Springs, Duluth, Cumming, Roswell, Lawrenceville, Suwanee, Buford, and Johns Creek. Both showrooms are easily accessible from I-285 and GA-400.
Yes — we have a licensed and insured installation crew. We handle everything from cabinet delivery through final installation including removal of old cabinets if needed.
Yes — we offer 0% APR 12-month financing for qualified customers. Ask about our current financing promotions during your consultation.
Most standard kitchen cabinet replacements take 3–5 business days. Full kitchen remodels including countertops, flooring, and electrical typically take 7–14 days depending on scope.
Ready to Transform Your
Kitchen or Bathroom?
Visit either Atlanta showroom, start your free 3D design online, or call us now — no pressure, just possibilities.
Request Your Free Quote
A cabinet specialist will respond within 24 hours — typically much sooner.
Let’s Build Your Dream Space
Tell us about your project and we’ll respond within 24 hours with a no-obligation quote and free 3D design consultation.
Peachtree Corners, GA 30071
Alpharetta, GA 30022
Get a Free Quote
Fill in the form and we’ll contact you within 24 hours.
Norcross (Peachtree Corners)
Peachtree Corners, GA 30071
Sunday: By Appointment
Alpharetta
Alpharetta, GA 30022
Sunday: By Appointment