
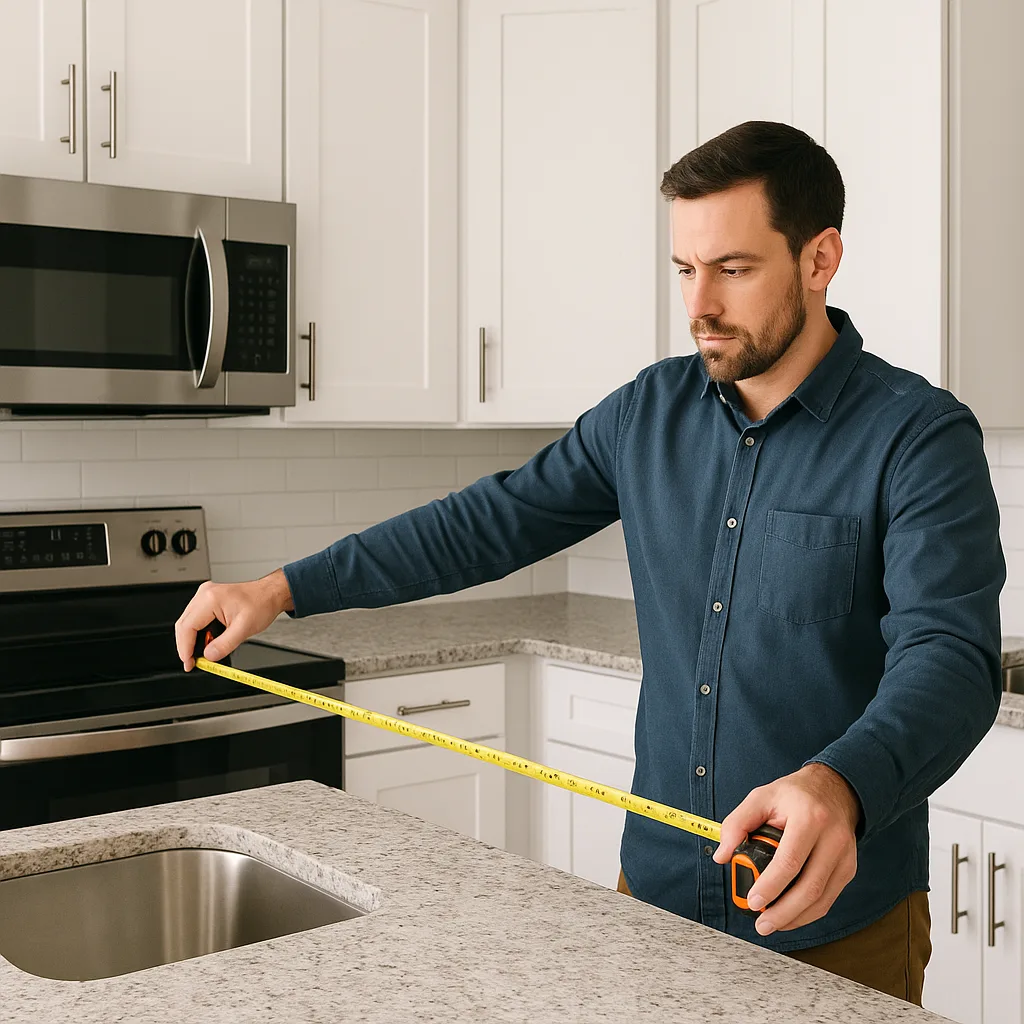
Measuring your kitchen for new cabinets accurately requires a systematic approach: measure each wall at three different heights, record all window and door locations with distances from corners, document ceiling height variations, and map every plumbing and electrical element. This comprehensive measuring process ensures your new kitchen cabinets fit perfectly, maximize storage space, and avoid expensive installation delays. While many homeowners feel intimidated by the measuring process, following a straightforward method makes it manageable. At homescabinet, we've seen countless projects succeed or struggle based on the quality of initial measurements, which is why understanding this process is essential before you begin your renovation journey.
Essential Tools for Measuring Your Kitchen
Before you begin measuring, gather the right tools to ensure accuracy. You'll need a 25-foot tape measure (longer is better for large kitchens), a notepad or graph paper, a pencil, a level, and a laser measure if available. Digital tools can improve accuracy, but a quality tape measure remains the most reliable option for most homeowners. Having a helper makes the process easier, especially when measuring long wall spans or reaching high ceilings.
Consider photographing your kitchen from multiple angles before starting. These photos serve as valuable references when reviewing your measurements later and help communicate your vision to contractors or cabinet suppliers.
Creating Your Kitchen Floor Plan
Start by sketching a bird's-eye view of your kitchen layout on graph paper. This doesn't need to be artistic—a simple outline showing walls, doorways, windows, and major appliances works perfectly. Mark the location of every permanent fixture, including plumbing, electrical outlets, light switches, and HVAC vents. These details affect where you can place cabinets and will be crucial during installation.
Use a scale that makes sense for your paper size. Many professionals use one square equal to six inches, making a 10-foot wall equal to 20 squares. Label each wall (Wall A, Wall B, etc.) to keep your measurements organized and easy to reference later.
Measuring Wall Dimensions
Measure each wall from corner to corner at three different heights: floor level, 36 inches up (standard counter height), and 84 inches up (standard cabinet height). Walls are rarely perfectly straight, so recording measurements at multiple heights reveals any irregularities. Always measure in inches rather than feet and inches to reduce calculation errors.
Write down the smallest measurement for each wall—this ensures your cabinets will fit even if the wall narrows. Note any variations greater than 1/4 inch, as these may require adjustment during installation. If you're planning a kitchen island, measure the available floor space carefully, leaving at least 42 inches of clearance on all sides for comfortable movement.
Recording Window and Door Locations
For each window and door, measure the width of the opening (from trim to trim) and the distance from the floor to the bottom of the window sill or top of the door frame. Also measure from each corner of the room to the nearest edge of each window or door. This tells installers exactly where openings occur along each wall.
Measure the depth of window sills, as this affects upper cabinet placement. Standard kitchen cabinets are typically 12 inches deep for uppers and 24 inches deep for base cabinets, so ensure adequate clearance around windows.
Measuring Ceiling Height and Soffits
Measure ceiling height in multiple locations throughout the kitchen, as older homes particularly may have variations. Measure from floor to ceiling at each wall and in the center of the room. If your kitchen has soffits (the boxed-in area between the tops of cabinets and the ceiling), measure their height and depth separately.
High end kitchen designs often eliminate soffits to create a more open, contemporary look with cabinets extending to the ceiling. Note any sloped ceilings, exposed beams, or other architectural features that impact cabinet placement.
Documenting Plumbing and Electrical Elements
Mark the exact location of your sink's plumbing, measuring from the corner of the nearest wall to the center of the drain pipe. Note the height of the drain from the floor and the locations of hot and cold water supply lines.
Document all electrical outlets, switches, and lighting fixtures. Measure from the floor to each outlet and from the nearest corner. Also note the location of your range connection (gas line or 220V outlet) and any dedicated circuits for appliances like dishwashers or garbage disposals.
Measuring for Appliance Placement
Measure your existing appliances or the dimensions of new ones you plan to install. Standard appliance widths are typically 30 inches for ranges, 36 inches for refrigerators, and 24 inches for dishwashers, but verify your specific models. Cabinets must be sized to accommodate these appliances with proper clearance.
Leave at least 1/4 inch on each side of appliances for easy installation and removal. Refrigerators often require additional clearance at the top and back for proper ventilation.
Common Measuring Mistakes to Avoid
Never round measurements—always record exact figures to the nearest 1/8 inch. Assuming walls are square or plumb ranks among the most common errors. Use a level to check walls for plumb (vertical straightness) and floors for level. Note any significant deviations, as installers will need to compensate for these during cabinet installation.
Don't forget to measure existing cabinets if you're replacing them. While you shouldn't base your new cabinet sizes solely on old ones, understanding what you currently have helps you plan improvements. Also consider how your kitchen backsplash design might affect measurements—some tile patterns or thicknesses impact the space available for cabinets.
Double-Checking Your Measurements
After completing all measurements, review everything systematically. Have someone else verify your numbers by re-measuring key dimensions. Check that all your measurements add up logically—for example, the sum of individual elements along a wall should equal your total wall measurement.
Create a clean, final version of your floor plan with all measurements clearly labeled. This professional-looking document helps when consulting with contractors, cabinet suppliers, or designers. If you're working with a kitchen remodeling atlanta georgia professional, accurate measurements streamline the design process and reduce the likelihood of surprises during installation.
Conclusion
Learning how to measure kitchen for cabinets properly sets the foundation for a successful renovation. By measuring walls at multiple heights, carefully documenting all windows, doors, plumbing, and electrical elements, and double-checking your work, you'll create accurate plans that ensure perfect cabinet fit. These measurements provide the framework for designing a kitchen that not only looks beautiful but functions efficiently for your specific needs. Take your time with this critical first step—the precision you invest now will pay dividends throughout your entire kitchen remodel, preventing costly mistakes and installation delays while helping you create the kitchen you've always wanted.
Planning guidance from Homes Cabinet. Product specifications, site conditions and the agreed scope determine the right solution for your home. Illustrative examples are not project quotations or promises of a particular result.
← Explore more remodeling guides