
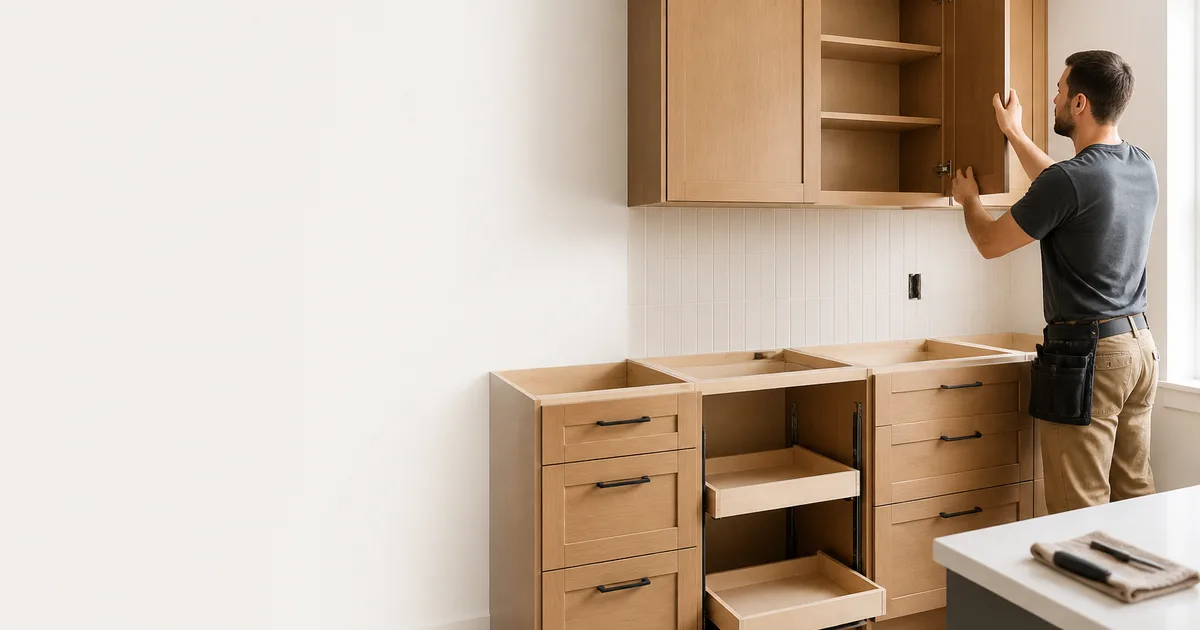
Installing your own cabinets is one of the few DIY projects that can genuinely transform a room in a single weekend — and save thousands on a kitchen remodel. But cabinets are unforgiving: a quarter-inch of error at the wall multiplies into crooked doors, gapping countertops, and drawers that drift open. Whether you bought RTA cabinets online or had custom boxes built by a kitchen cabinet specialist, the installation process is the same. This guide walks first-timers through layout, wall cabinets, base cabinets, and the finishing details that separate a DIY look from a high end kitchen finish.
Before You Touch a Screw: Plan the Layout
Every successful cabinet install begins on the wall, not in the box. Unpack and inventory everything first — doors, drawers, filler strips, toe-kick, and hardware. Label each cabinet with its position on your plan so you are not reading a cut list while holding 60 pounds overhead.
Find the High Point of the Floor
Floors are never flat. Use a long level or laser to find the highest point along the run where your base cabinets will sit. Measure up 34½ inches from that high point and snap a level line around the room — that is the top of your base cabinets. Add 1½ inches for a standard countertop and you land at 36 inches of finished counter height.
Mark the Wall Cabinet Line
Standard wall cabinets hang with their bottom edge 54 inches off the floor, leaving an 18-inch backsplash gap. Snap that line too. If you plan a tile kitchen backsplash later, this measurement determines how much tile you buy, so get it right now.
Locate and Mark Every Stud
Run a stud finder across the whole wall and mark stud centers with vertical pencil lines that extend above and below your layout lines. Confirm with a small finish nail. Cabinets must screw into framing — drywall anchors alone will not hold a loaded upper cabinet.
Step 1: Hang the Wall Cabinets First
Always install wall cabinets before base cabinets. With the base units out of the way, you can stand close to the wall and work comfortably.
Screw a temporary ledger board along your 54-inch line using a few screws into studs. This scrap 1x3 carries the cabinet weight while you fasten it — the single best trick for a solo install.
Remove doors and drawers before lifting. A 36-inch wall cabinet drops from about 65 pounds to 40 pounds once stripped, and you avoid dinging finished doors.
Start in a corner and work outward. Rest the cabinet on the ledger, push it tight to the wall, and check plumb on the face frame in both directions. Shim behind the cabinet at stud locations where the wall bows.
Fasten with 2½-inch cabinet screws through the hanging rails into studs — two screws top, two bottom, minimum. Then clamp the next cabinet's face frame flush to the first, drill pilot holes, and join the two with 1¼-inch screws before fastening to the wall. Joining cabinets to each other is what keeps a run perfectly aligned.
Step 2: Set the Base Cabinets
Remove the ledger board, patch the holes, and move to the floor.
Start with the corner cabinet again. Slide it into place and check it against your level line. Shim under the base and behind the back rail until the cabinet is level front-to-back, side-to-side, and plumb on the face. This is the step most first-timers rush, and it is the step that causes countertop failures later.
Screw through the back rail into studs. Clamp and join each adjacent cabinet through the face frames, re-checking level as you go. Use filler strips where a run meets a wall or appliance — never try to stretch cabinets to close a gap.
Cutting for Plumbing and Electrical
Measure twice from a fixed reference point like the cabinet side, transfer the measurement to the cabinet back, and cut with a hole saw or jigsaw. Oversize the opening slightly; the sink base is hidden anyway.
Adding a Kitchen Island
A kitchen island is simply base cabinets anchored to the floor. Mark the footprint, screw cleats to the subfloor just inside the lines, then drop the assembled cabinet box over the cleats and screw through the cabinet sides into the cleats. Confirm clearance of at least 36 to 42 inches on all walkways before you commit. If you are rethinking the whole floor plan rather than replacing boxes, a professional kitchen remodeling atlanta georgia team can model the clearances before anything is cut.
Step 3: Finishing Details That Look Professional
- Scribe molding closes the gap where a cabinet side meets an uneven wall.
- Toe-kick covers shims and leveling gaps at the floor.
- Crown or light rail finishes the top of wall cabinets; this single detail does more than anything else to make stock or RTA cabinets read as custom.
- Rehang doors last, then adjust the hinges. European hinges adjust in three directions — take the time to get every reveal consistent at about ⅛ inch.
- Soft-close dampers are an inexpensive upgrade if your boxes did not include them.
Once cabinets are set and level, you can template for counters. Stone fabricators will not template crooked bases, so confirm your work with a 6-foot level across the entire run before scheduling a countertop service measurement.
Tools and Materials Checklist
Stud finder, 4-foot and 6-foot levels, laser level, drill/driver, hole saw set, jigsaw, face-frame clamps, tapered shims, 2½-inch cabinet screws, 1¼-inch face-frame screws, chalk line, and a helper for the uppers.
When to Hire Instead
DIY installation makes sense for a straight galley run with stock or RTA cabinets. Consider hiring out if you have inset doors, a complex island with electrical, structural walls to move, or expensive custom boxes where a mistake is costly. Many homeowners who start by searching "kitchen remodeling near me," "kitchen renovation near me," or "kitchen remodel near me" end up with a hybrid approach: a pro handles demo, plumbing, and the cabinet install, while the homeowner tackles paint, hardware, and the backsplash.
It is also worth comparing sources before you buy. Big showrooms like Ferguson Bath Kitchen and Lighting Gallery, online RTA sellers, and YouTube channels such as Preppy Kitchen or Craft Street Kitchen each shape expectations differently — showroom displays set the style bar, while DIY channels set the skill bar. Match your budget and tolerance for risk to the right lane, and remember that the same installation principles apply to bathroom cabinets and vanities.
Final Thoughts
Cabinet installation rewards patience over speed. Find your high point, snap level lines, hang uppers before lowers, shim relentlessly, and join cabinets to each other before fastening them to the wall. Do those five things and your kitchen & cabinets will look factory-set. If you would rather hand off the heavy lifting — or want to see finished installs before deciding — browse the options and project ideas at homescabinet and plan your next step from there.